Github Basics
Github is a place where many people put their code. Github hosts git servers for you, git servers serve git repositories. Git repositories are basically folders that you put code in, but they have some special features. They let you share them on sites like Github or Bitbucket and store the complete history of the files you put in there and the changes you’ve made to them. It does this by looking for the differences between your original files and your new changes everytime you make a commit (referred to as diffing). Diffing also allows other people to collaborate on your code easier than before because every person sees the changes everyone makes. Commits save your changes into git and do this diffing process. When you push your code you’re uploading to a git server, and when you pull you’re download from a git server. That was a lot of jargon so let’s see it in action.
Table of Contents
- Table of Contents
- Setting up Github for Desktop
- Creating your first repository
- Making your first commit
- Publishing your Repository
- Pushing and Pulling
- Your History
- The End
Setting up Github for Desktop
Github Desktop is an easy interface to the git program and Github itself, so we’ll use it.
First, download Github for Desktop. Once you install it, the following window should pop up:
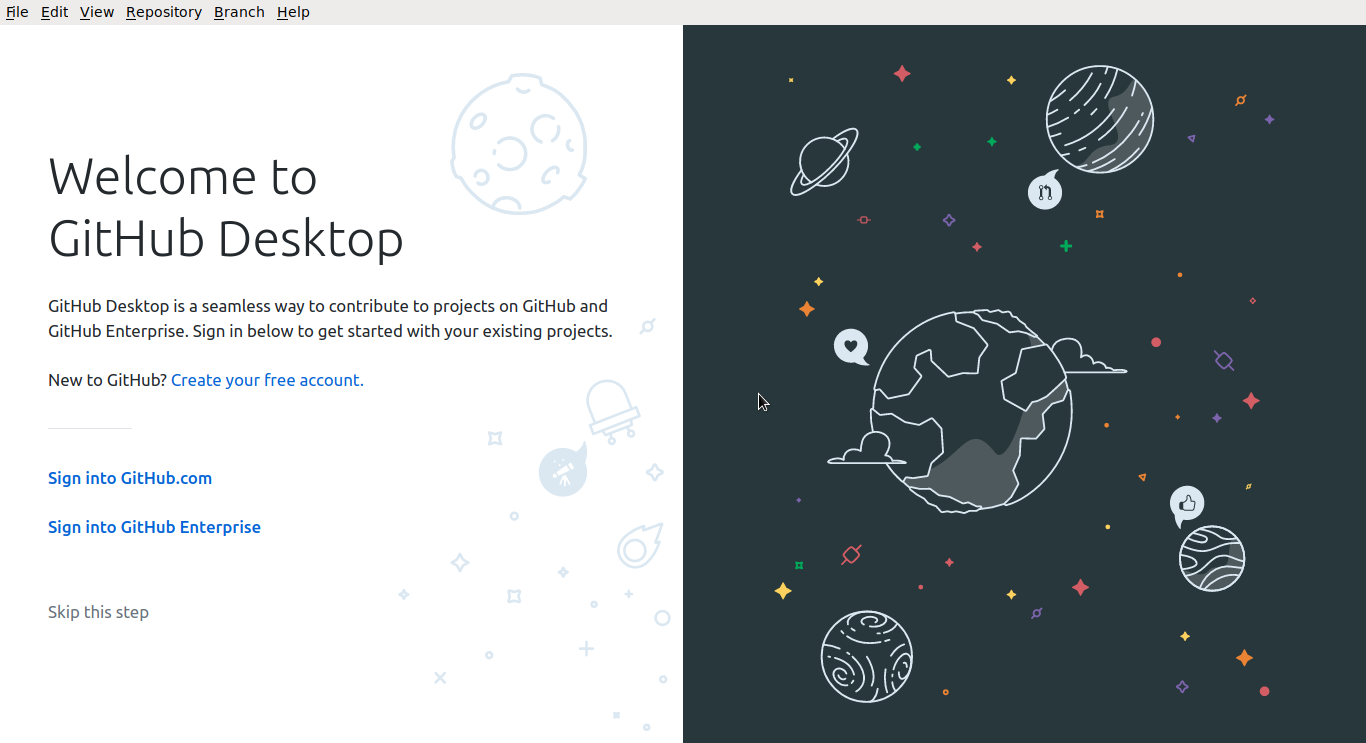
Click Sign into Github or Create your free account if you don’t have one.

Creating your first repository
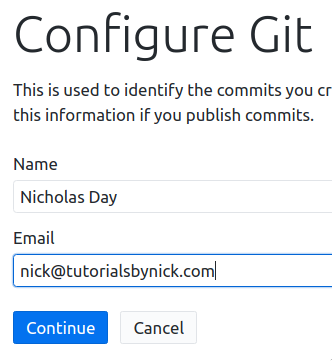
Once you’re signed in a screen like below should show up. This name and email will show up when you contribute to a project.
Now Github Desktop should look like this:
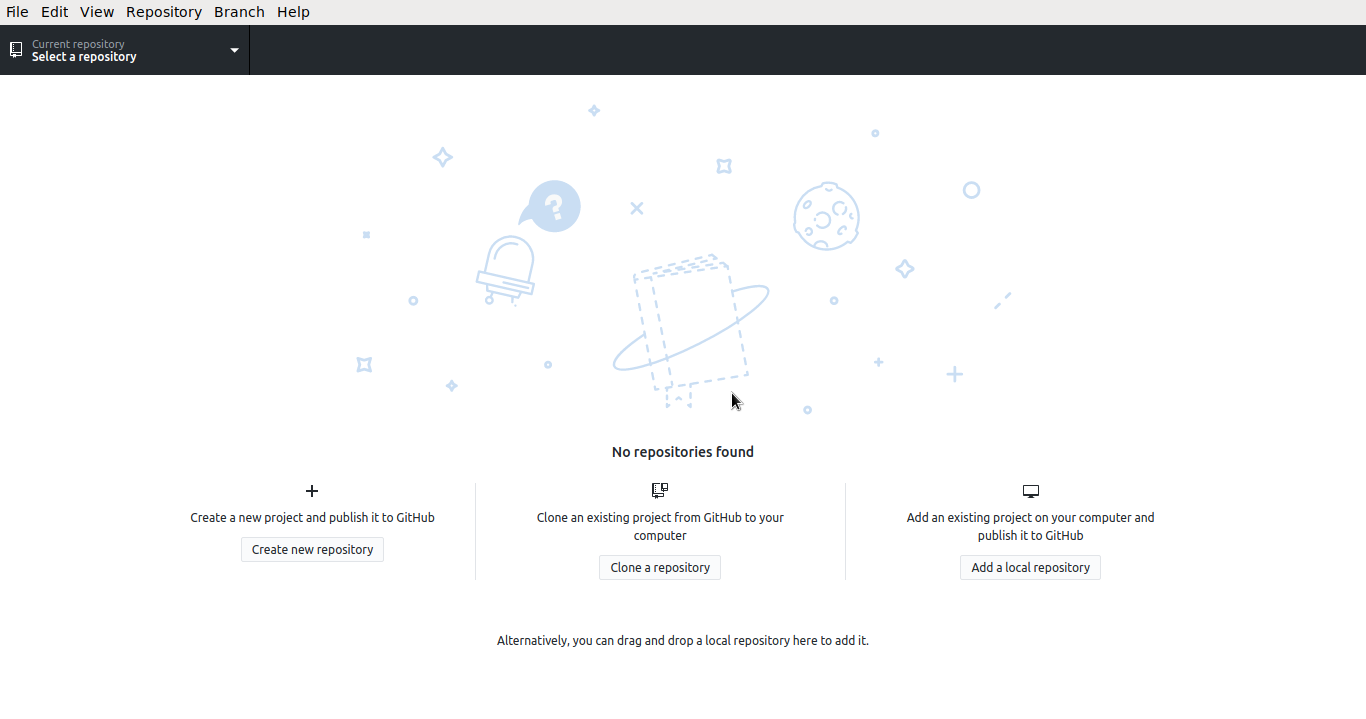
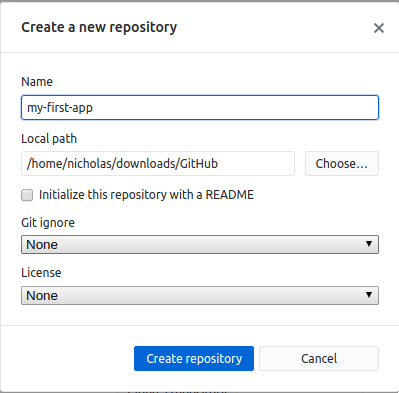
You’re ready to create your first repository! Click on Create new repository and then select a folder to put your repository in. Usually the default option is fine, but you’ll have to remember where it’s stored so you can edit your code inside of your repository folder. In my case, the repository is located at /home/nicholas/downloads/Github/my-first-app. When you clone a project that means download for the first time onto this computer.
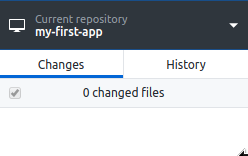
You can switch repositories by clicking on the dropdown at the top.
Making your first commit
A commit is a change saved into the git repository’s history. Add a code file you’d like to put in the repository by copying and pasting that file into your code repository folder. You can also just edit a new file in that folder.
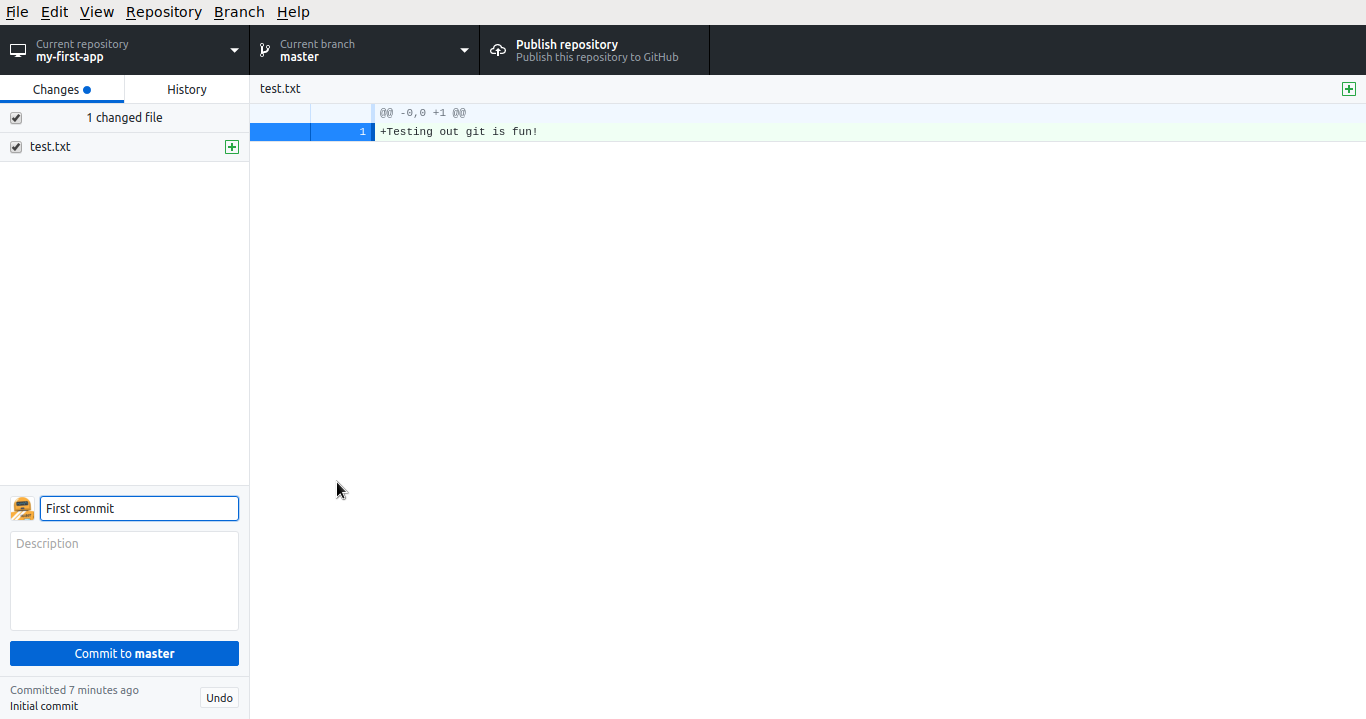
Inside of Github Desktop, you should see the changes you just made. You can select what changes will be committed and what will be left out of the commit to be changed later. At the bottom you can provide a summary and description of the changes you made. When you click Commit to Master, your change is saved in the master branch. Branches are like branches on trees. They all stem from the master ‘tree’ and can diverge from it. So you can make changes in a fixallthebugs branch that won’t affect the master branch and then later you can merge fixallthebugs into master once the bugs are all fixed. For most projects though, just using the master branch is good enough.
On the right is a ‘diff’. This shows a line by line summary of the changes that you’ve made to the selected file.
Publishing your Repository
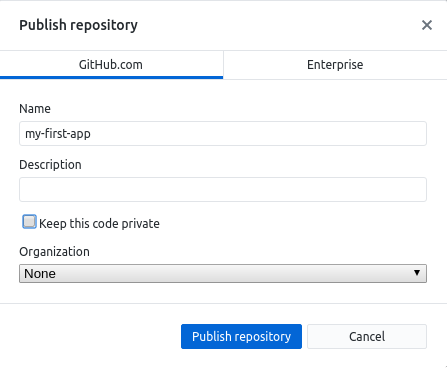
Before we do anything, let’s publish our repository to Github. Click the Publish repository button, and make sure to uncheck keep this code private unless you want to pay Github for a private repository (public repositories are free by default). If you’re a student with an edu email, you can sign up for the Github Student Developer Pack which has free private repos, and some free server hosting credits.

Pushing and Pulling
If you want to share your changes or back them up, you can push to origin. Origin is the main server that you’ll use for git, but there can be other servers that you can push to. Like if you wanted to push to another server and it would put your code onto a website and deploy it. Github Desktop has a handy button for that at the top.

Pulling and fetching download code from the server onto your computer and can merge the code from the server with your code. This is handy if you want to backup your code, move computers, or collaborate with other people.

Your History
Next to the History tab, there is a tab for the history of your repository. When you click on it, you should be able to see a log of all the the commits you have made and their diffs.

You can also right click on a commit and revert it. This will undo your changes in the commit. Its a very handy feature for when you make a mistake and want to undo it, even a few commits later. Its important to commit small working changes for this purpose.
The End
There is a lot more to git and Github than I went over here, but this should be enough to get you started. Git is a very advanced tool and there are lots of gotchas and ways to use it, but you should only add complex features when you actually need them. Not when you think it is cool, but when you have a need for it.
Join me in learning about how computers work
Just enter your email into the box below. You'll also receive my free 12 page guide, Getting Started with Operating System Development, straight to your inbox just for subscribing.
